Best SwimSafer Practice Drills for Test Readiness
A child can swim several laps and still lose marks in a SwimSafer practical assessment if they rush an entry, forget to orient themselves, or panic while changing position. The best SwimSafer practice drills build more than swimming distance. They train a swimmer to stay calm, make safe choices, and complete each required skill with control.
For parents, practice should not mean repeating a full test until a child is exhausted. Effective preparation breaks each task into small, repeatable actions, then joins them together only when the swimmer is ready. This approach develops genuine water survival ability and gives children the confidence to perform when an assessor is watching.
Start With Safe, Accurate Practice
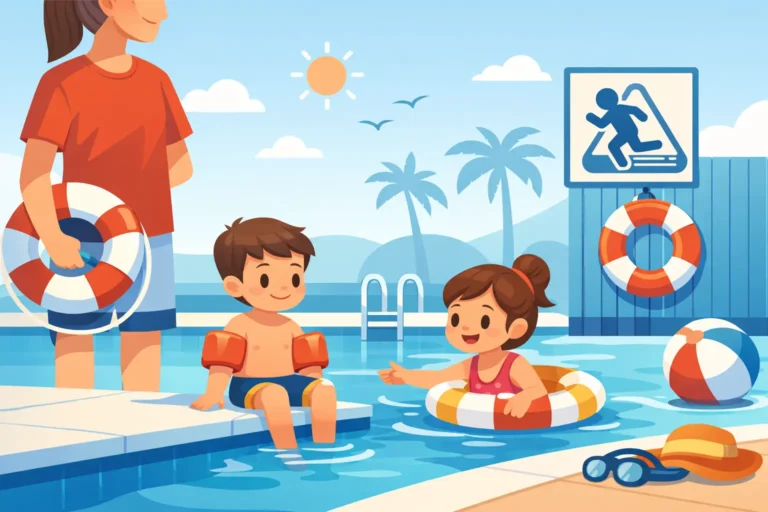
Before practicing any SwimSafer skill, match the exercise to the swimmer’s current ability and the pool depth. A child should never rehearse deep-water entries, prolonged treading, or underwater work without a qualified instructor or responsible adult providing close supervision. Choose a designated practice area with clear pool rules, adequate depth for the activity, and no crowded lane traffic.
Use the language your child will hear during lessons and assessments. Ask them to listen for the instruction, pause, explain what they will do, and then begin. This simple routine prevents a common test-day problem: a capable swimmer starts too early because they are nervous or assumes they know the next task.
Practice quality matters more than volume. Two focused attempts with correction are usually more valuable than ten rushed repetitions. If body position or breathing falls apart, allow a short rest, clarify one improvement point, and try again.
Best SwimSafer Practice Drills for Safe Entries
Safe entry skills show whether a swimmer can enter water without creating unnecessary danger for themselves or others. Children often concentrate on making a big splash, while the assessment focuses on control, awareness, and an appropriate method of entry.
The Look, Decide, Enter Drill
Have the swimmer stand at the pool edge and follow a fixed sequence: look at the water, check the space ahead, identify the exit point, choose the correct entry, and enter only when told. After entering, they should regain a stable position before moving away.
This drill is especially useful for children who are physically confident but impulsive. It teaches that water safety begins before the feet leave the deck. Make the decision verbal at first. Ask, “Is the water clear?” and “Where will you move after entry?” Once the routine is consistent, reduce the prompts.
Compact Jump and Recovery
For an appropriate feet-first entry, practice a compact jump with feet together or close together, arms in a controlled position, and eyes forward. The key outcome is the recovery after entry. The swimmer should surface, establish balance, and orient toward the intended direction rather than immediately thrashing forward.
Set a marker or coach at a short distance from the wall. After each entry, the swimmer turns toward it and holds a calm floating or upright position for two seconds. This adds the awareness that turns an entry drill into a survival skill.
Entry-to-Travel Connection
Once the entry and recovery are reliable, connect them to a short swim, survival stroke, or float. Avoid making the distance the main goal. The swimmer should demonstrate a controlled entry, settle their breathing, and then move efficiently.
If a child struggles at this stage, separate the skills again. It may not be a swimming problem. They may simply need more time to recover from water entering the face or ears after the jump.
Drills for Floating, Rotation, and Survival Control
SwimSafer progression requires swimmers to be comfortable changing position in water. A child who can float only when perfectly still may struggle when asked to roll, recover, or continue after a brief interruption.
Star Float to Standing
Begin with a front or back float that matches the swimmer’s level. Ask them to extend long through the body, relax the neck, and hold the position while exhaling slowly. On a signal, they recover to a standing position without grabbing the wall.
This drill develops buoyancy awareness and composure. For beginners, use a short hold and build gradually. For more advanced swimmers, increase the hold or ask for a controlled rotation before standing. The goal is not to force a rigid shape, but to help the swimmer trust that a relaxed body can stay supported by water.
Front-to-Back Rotation Drill
Have the swimmer start in a front float, then roll onto the back using a gentle arm sweep and hip rotation. On the back, they should relax, breathe, and regain a balanced position. Practice the reverse direction as well, since safe swimmers must be able to respond when their face is in the water or when they need air.
A useful coaching cue is “turn the body, then find the air.” Children who lift their head sharply often sink their hips and become unsettled. Encourage them to rotate as one long shape rather than fighting the water with quick arm movements.
Float, Signal, Recover
Add a practical survival element by asking the swimmer to float, raise one arm to signal for help, then recover to a safe position or travel toward the wall. This teaches that signaling should not cause panic or destroy body balance. It also reinforces a valuable message: when tired, choose a stable position and communicate.
Treading Water Drills That Build Endurance
Treading water is not simply a test requirement. It gives swimmers time to assess a situation, call for help, or wait for assistance. The right practice builds efficient movement rather than frantic kicking.
Start near a wall, even for swimmers who can already tread. Use short intervals with clear posture cues: head relaxed, mouth above water, chest tall, hands sculling steadily, and legs moving in a rhythm the swimmer can sustain. Different swimmers may use breaststroke-style kicks, eggbeater actions, or a combination. The most suitable method depends on age, coordination, and the required standard.
Timed Tread With Calm Breathing
Set a manageable time, such as 10 or 15 seconds, and ask the swimmer to count quiet breaths rather than watch the clock. Increase duration only when they can maintain control. If their arms begin slapping the surface or their shoulders rise toward the ears, shorten the interval and reset technique.
For a stronger swimmer, add a direction cue during the tread: look left, look right, then identify the nearest exit. This mirrors real water awareness and stops the drill from becoming a passive endurance exercise.
Tread, Travel, Tread
Ask the swimmer to tread, move a short distance using a survival stroke, then tread again. The transition is the important part. Many children can perform each skill separately but lose balance when changing from upright to horizontal and back.
Keep the travel distance modest. A clean transition with steady breathing is better preparation than a long swim completed in a rush.
Practice Survival Strokes for Efficiency, Not Speed
Survival strokes help a swimmer cover distance while conserving energy and keeping awareness of their surroundings. In practice, swimmers should learn to choose a rhythm they can maintain, rather than racing from one end of the pool to the other.
For breaststroke or another appropriate survival stroke, use the “pull, breathe, kick, glide” rhythm. Let the swimmer pause briefly in the glide to feel balance and reduce unnecessary effort. If the legs sink, correct the body line before demanding more distance. If breathing is rushed, slow the timing and reduce the number of repeats.
A helpful progression is to set a destination, such as a visible marker or pool wall, and ask the child to arrive with enough energy to float or tread afterward. This is closer to the real purpose of survival swimming than finishing a distance at maximum effort.
Rehearse the Assessment Without Creating Test Anxiety
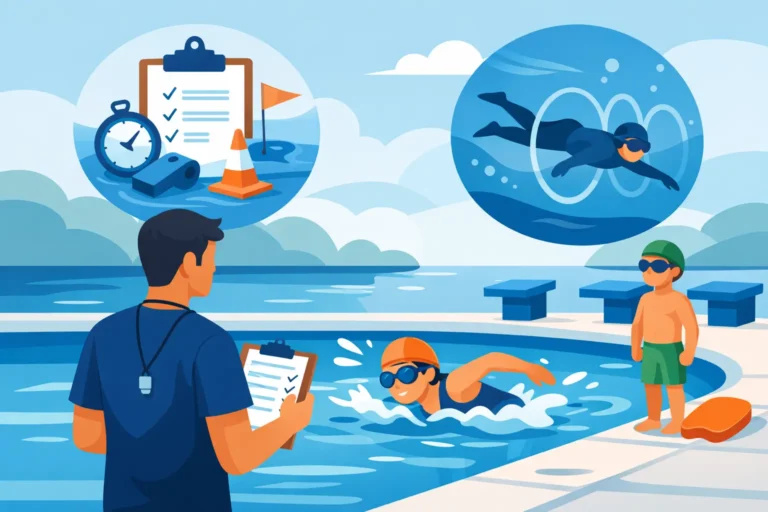
A mock practical test is valuable when it is used as information, not pressure. Once individual skills are dependable, run a short sequence with instructions given only once. The swimmer listens, completes the task, and receives feedback after the sequence rather than during every movement.
Afterward, discuss three questions: What felt controlled? Where did breathing become difficult? What should be practiced next time? Keep feedback specific. “You recovered calmly after the entry” is more useful than “Good job.” Likewise, “Pause and find your balance before starting the stroke” gives a child a clear action for the next attempt.
Do not run a full mock assessment before every lesson. Younger swimmers, especially those building confidence, can start to associate practice with pressure. Rotate technical drills, short challenge sets, and occasional test simulations. AQZOG coaches use structured progression so each practice session strengthens the skill behind the task, not just the appearance of test readiness.
When Extra Coaching Makes a Difference
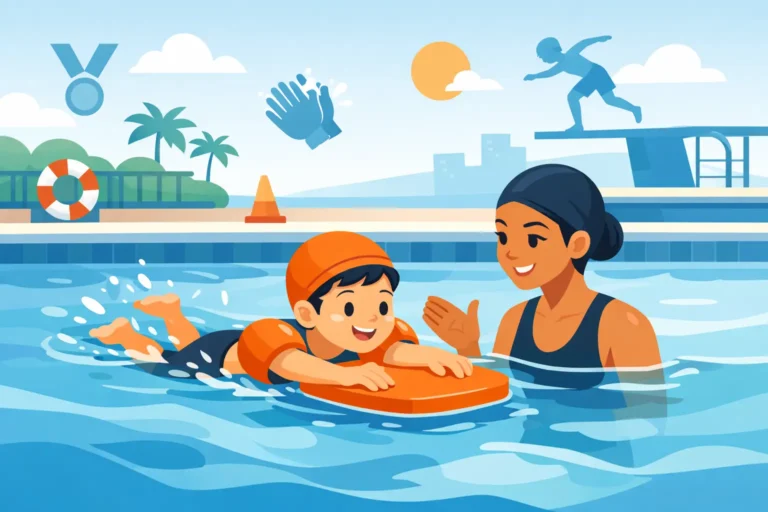
Some children need more than family practice to progress safely. Extra coaching can be particularly helpful when a swimmer fears deep water, struggles to put their face in, cannot maintain a float independently, or has repeated difficulty linking skills in sequence. A qualified instructor can identify whether the barrier is technique, confidence, breath control, or misunderstanding of the task.
Private or small-group preparation can also help swimmers who are close to assessment readiness but need focused correction. The goal should remain long-term water safety. Certification is an important milestone, but a swimmer benefits most when every practiced skill becomes something they can use calmly outside an assessment setting.
The strongest final practice is often a short one: a controlled entry, a calm recovery, an efficient survival movement, and a confident exit. When a child finishes that sequence knowing they can manage the water, test readiness becomes a natural result of real progress.