How to Prepare for Lifesaving Certification
A lifesaving assessment can look intimidating from poolside: timed swims, deep-water entries, rescue sequences, and first aid decisions performed while an assessor watches closely. But candidates who know how to prepare for lifesaving certification rarely rely on last-minute effort. They build fitness, technique, rescue judgment, and calm decision-making in a structured order.
Lifesaving is not simply about being a fast swimmer. A capable lifesaver must recognize risk, approach a casualty safely, use the right rescue method, communicate clearly, and keep enough energy in reserve to complete the task. Preparation should reflect that reality.
Start With the Exact Certification Requirements
Before increasing your training volume, confirm the requirements for the specific lifesaving course or assessment you plan to take. Standards vary by organization, level, age group, and location. Some programs emphasize endurance swims and timed rescues, while others place more weight on CPR, first aid, spinal management, or water-based rescue skills.
Read the candidate criteria carefully. Identify the required distances, strokes, time limits, water depth, rescue techniques, and theory topics. If a prerequisite swimming certificate is required, allow time to complete it before enrolling in the next level.
This step prevents a common mistake: training hard for the wrong test. A swimmer may be comfortable completing long freestyle laps but struggle with a clothed swim, a tow, a surface dive, or a timed rescue sequence. Good preparation is specific preparation.
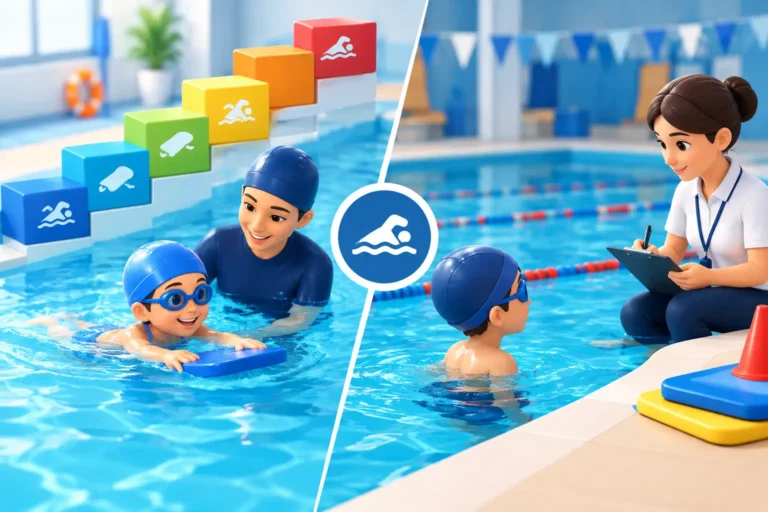
If you are unsure where your current ability stands, arrange a skills assessment with an experienced instructor. A structured assessment can identify whether your main gap is endurance, stroke efficiency, deep-water confidence, rescue technique, or theory knowledge. AQZOG uses progression-based coaching because measurable skills give learners a clearer route from swimming competency to lifesaving readiness.
Build a Swimming Base Before Adding Rescue Drills
Lifesaving training becomes far more demanding when basic swimming takes too much effort. You need enough control in the water to concentrate on the casualty, the rescue equipment, and the correct procedure.
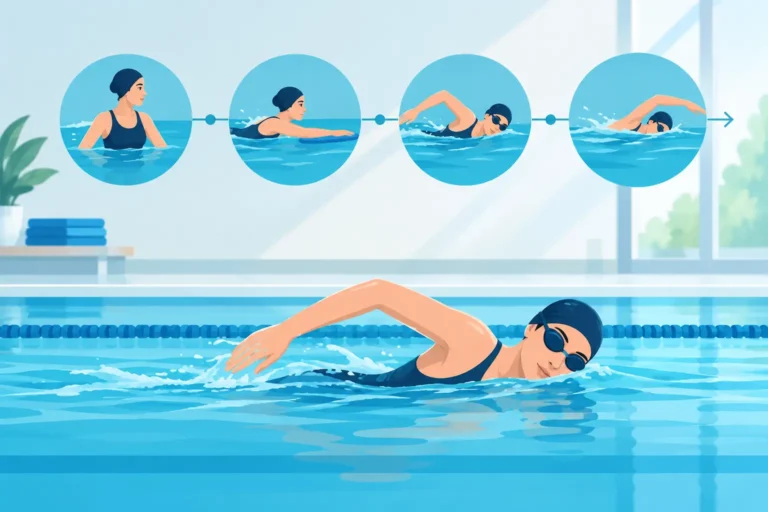
Start by improving your ability to swim continuously with a relaxed, efficient stroke. Freestyle is often the most useful stroke for speed and distance, but breaststroke is equally valuable because it supports visibility and control during approaches and towing. Backstroke and sidestroke skills may also appear in rescue-focused training, depending on the program.
Train two to four times each week, based on your current level and the time before assessment. A newer swimmer may benefit more from frequent, shorter sessions focused on technique. A confident swimmer preparing for a physically demanding test may need longer endurance sets and timed practice.
A balanced pool session can include a warm-up, stroke drills, continuous swimming, interval repeats, and treading water. For example, swimmers can alternate steady laps with short faster efforts, then finish with several minutes of controlled treading. The goal is not to exhaust yourself every session. It is to become efficient enough that you can still think clearly after exertion.
Prioritize Breath Control and Deep-Water Confidence
Many candidates underestimate how much breath control affects performance. Surface dives, underwater swims, object recovery, and rescue entries all feel harder when you are tense or holding your breath unpredictably.
Practice exhaling steadily underwater, recovering your breathing after exertion, and entering deep water with control. Become comfortable floating, changing body position, and treading water without grabbing the pool wall. These skills build the composure needed when a rescue drill does not go exactly as planned.
Never practice underwater breath-holding challenges alone or push repeated prolonged breath holds. Train under qualified supervision and follow the safety rules of your program.
Learn Rescue Skills as a Sequence, Not as Isolated Moves
A rescue is a decision-making process. Candidates may know how to perform a tow but lose marks because they chose an unsafe approach or forgot to assess the scene first.
Most lifesaving scenarios follow a logical pattern: identify the problem, assess hazards, call for help, choose the safest rescue option, approach safely if entering the water is necessary, provide care, and monitor the casualty until help arrives. Your course may use different wording, but the principle remains the same: protect yourself first so you can help someone else.
Practice each component slowly before combining them at speed. Learn how to communicate with a conscious casualty, how to keep a safe distance from a panicked swimmer, and how to use reaching or throwing aids when appropriate. Entering the water is not always the best first response. A safe lifesaver uses the lowest-risk effective option.
When practicing contact rescues and tows, focus on body position and control. Poor positioning can make a rescue exhausting and may compromise the casualty’s airway. Your instructor should correct your grip, kick, head position, and pace early, before incorrect habits become automatic.
Train for Test Conditions Without Making Every Session a Test
Timed assessments require pace awareness. If the course includes a specified swim distance or a rescue sequence under a time limit, begin by completing it accurately at a manageable pace. Only then work toward the required time.
Once a week, run a partial or full mock assessment under realistic conditions. Wear the required clothing if your test includes a clothed swim. Use the same starting method, equipment, and pool depth where possible. Practice transitions, because time is often lost when candidates hesitate between the swim, dive, recovery, tow, and exit.
However, do not turn every training session into a high-pressure test. Constant max-effort work can damage technique and increase fatigue. Use most sessions to improve one or two specific weaknesses, then use mock tests to measure progress.
Keep a simple training record. Note your swim times, treading duration, successful dives, rescue feedback, and theory scores. Visible progress is motivating, especially for adult learners returning to the water after a long break.
Prepare Your First Aid and Theory Knowledge Early
Pool skill alone does not make a certified lifesaver. Many programs assess first aid knowledge, emergency response, CPR procedures, drowning recognition, and the use of safety equipment. Candidates often lose confidence when they leave this study until the final week.
Break theory preparation into short, regular study blocks. Review the course manual, memorize key action sequences, and practice explaining what you would do in a scenario. If you cannot explain a response clearly, you may not be ready to perform it under pressure.
Use scenario questions rather than memorizing isolated definitions. Ask yourself: What are the hazards? Is the casualty conscious? Do I need to call emergency services? What equipment is available? What should I monitor after the rescue? This develops judgment, not just recall.
For CPR and first aid skills, practice only according to your instructor’s current guidance. Procedures and assessment standards can change, so rely on the materials provided by your certification organization rather than old online videos or advice from friends.
Manage Nerves and Plan the Final Week
The final week should sharpen performance, not create panic. Avoid suddenly doubling your training volume. Continue technique work, complete one or two controlled mock runs, review theory, and prioritize sleep, hydration, and regular meals.
Prepare your practical items the day before: swimwear, goggles if permitted, towel, identification, course documents, water bottle, and any required clothing or equipment. Arrive early enough to settle in, listen to instructions, and warm up properly.
During the assessment, slow your mind before each task. Listen to the full instruction. Confirm what is required. Then perform the sequence you have practiced. If you make a small error, do not assume the assessment is over. Regain control, continue safely, and follow the assessor’s direction.
Lifesaving preparation is ultimately preparation to act responsibly around water. Build the swimming ability, rescue judgment, first aid knowledge, and calm confidence to help when it counts – then carry those habits with you long after certification day.