How to Teach Child Floating Skills Safely
A child who can relax into a back float has gained more than a swimming skill. They have learned a practical water-survival response: pause, breathe, stay calm, and keep their face clear of the water. Knowing how to teach child floating skills safely means building that response step by step, without rushing a child into a position they fear.
For many parents, floating looks simple. In practice, it requires confidence, body awareness, controlled breathing, and the ability to trust the water. These foundations matter for beginner lessons, SwimSafer progression, and a child’s long-term ability to stay safe in and around pools.
Why floating is a core water-safety skill
Floating helps a child conserve energy when they are tired, disoriented, or unable to reach the pool edge immediately. A relaxed back float keeps the nose and mouth above water, allowing time to breathe, call for help, or turn toward safety. It is one of the most valuable early skills a young swimmer can develop.
It is also a useful indicator of genuine water confidence. A child may be willing to splash, kick, or hold a wall, yet still panic when their ears enter the water or when an adult reduces physical support. Floating reveals whether they can stay composed while their body is buoyant and unsupported.
Children do not all learn this at the same pace. Toddlers may first accept a supported float for only a few seconds. School-age beginners may understand instructions quickly but tense their neck, bend their knees, or lift their head in response to anxiety. The goal is not to force a long float on the first lesson. The goal is calm, repeatable progress.
Start with the right safety setup
Practice only in water where the child can stand comfortably, ideally in a quiet, shallow area away from stronger swimmers, wave-making features, and poolside distractions. An adult should remain within arm’s reach at all times. A float is a learned skill, not permission for a child to be unsupervised.
Choose a time when your child is rested and not hungry or cold. A shivering child will tighten their muscles, making floating harder. Goggles can help children who dislike water near their eyes, but they are not required for a back float. What matters most is that the child can listen, breathe normally, and feel secure with the adult supporting them.
Avoid relying on inflatable arm bands or bulky flotation devices during float practice. They can change body position and may give a false sense of security. A trained instructor may use specific teaching aids at the right stage, but the child should gradually experience how their own body floats with appropriate hands-on support.
How to teach child floating skills step by step
Build comfort before asking for a float
Begin with simple water adjustment. Let your child pour water over their shoulders, cheeks, and ears. Encourage them to blow bubbles, hum, and place the back of their head briefly in the water while holding the pool wall. These activities make the sensations of water around the face and ears more familiar.
Use short, specific reassurance rather than repeatedly saying, “Don’t be scared.” Try: “I have you under your back,” or “Your ears can go in the water and your nose stays up.” Children respond well when they know exactly what will happen next.
If they resist putting their ears in the water, do not move straight to a full back float. Practice a supported recline first, with their shoulders in the water and their head resting against your chest or forearm. Small successes reduce fear more effectively than persuasion.
Support the head and upper back
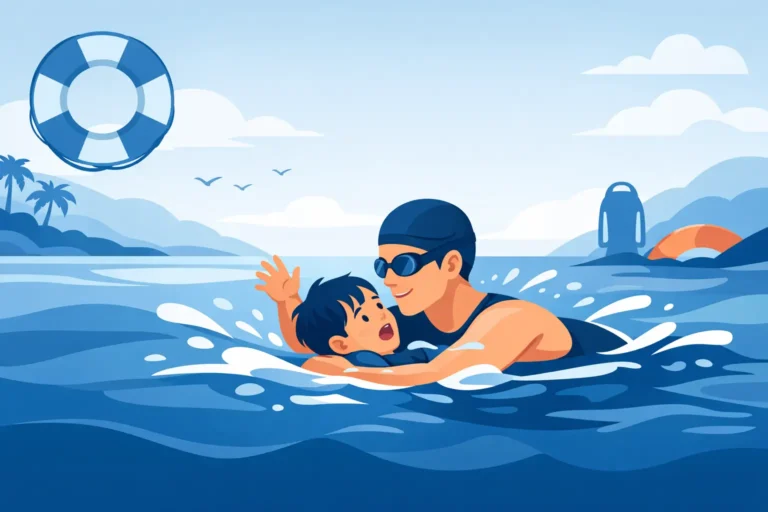
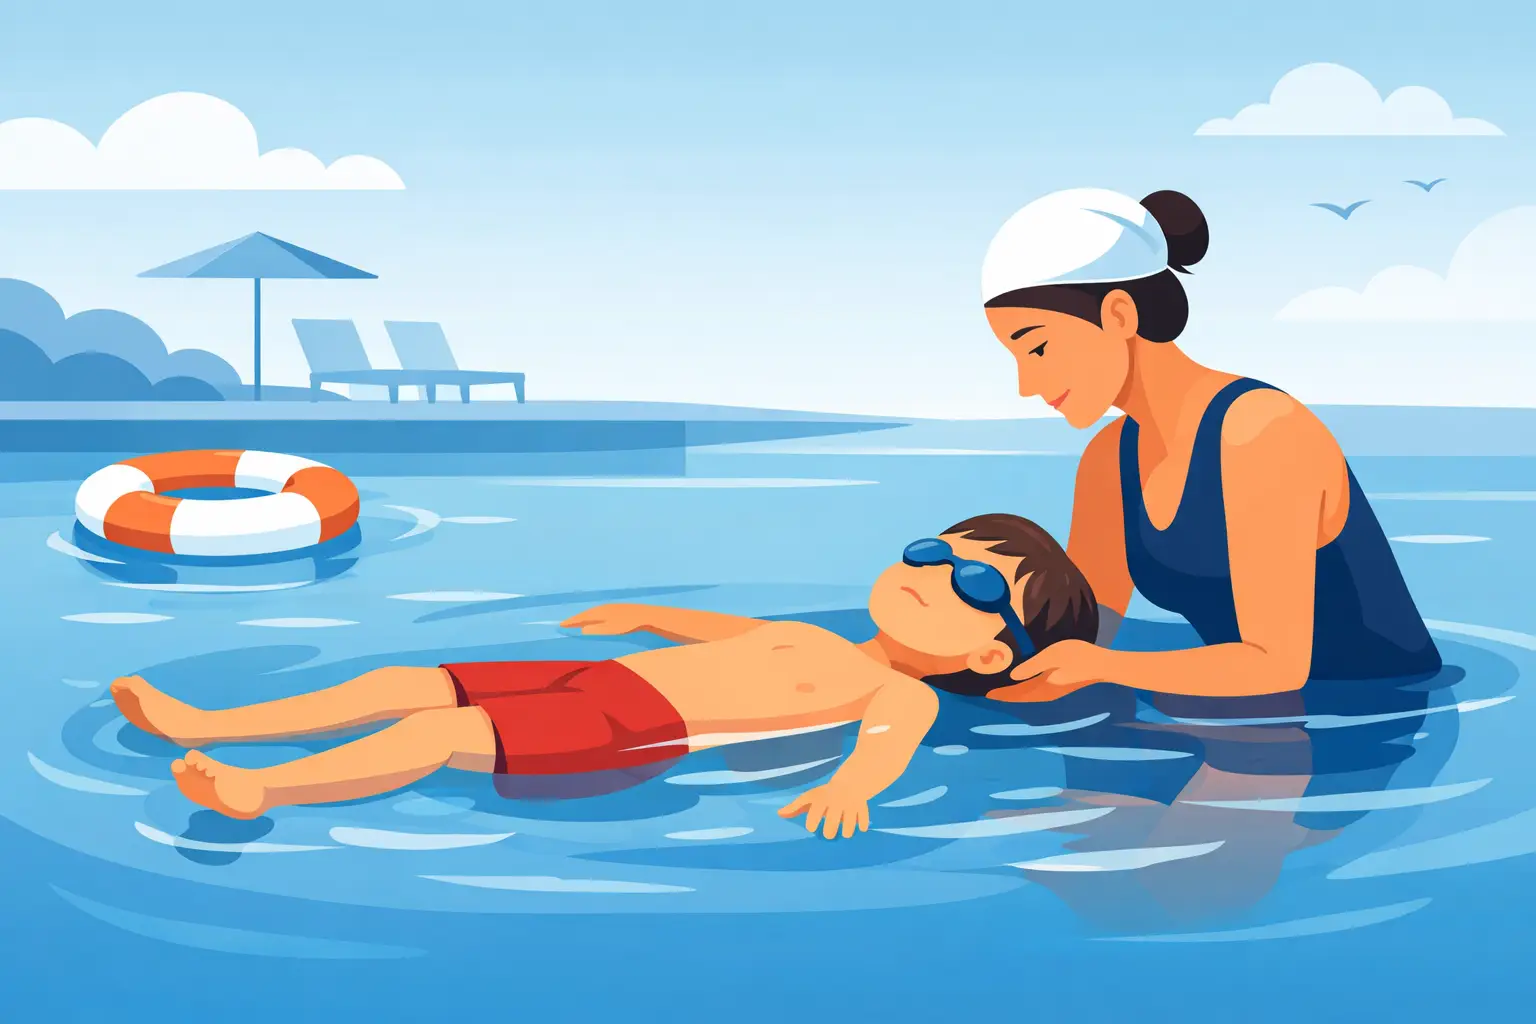
Position your child on their back with one of your hands supporting the upper back and the other gently supporting the back of the head or neck. Keep their body close enough that they feel secure, but avoid holding them tightly around the waist. Tight support can make a child curl into a sitting position.
Use one simple body cue: “Belly up, ears in, eyes at the sky.” This gives the child a clear picture of the correct position. Encourage them to look upward rather than at their feet. When children lift their head to watch what is happening, their hips usually sink.
Ask them to keep their arms wide and relaxed, like a star. Their legs should be long but not rigid. A little gentle kicking is acceptable at first, but the aim is to feel the water supporting the body rather than fighting it.
Teach relaxation, not stiffness
The most common reason children struggle to float is tension. They may hold their breath, clench their shoulders, tuck their chin, or bend their knees. These are natural protective reactions, especially for children who are new to water.
Encourage slow breathing. A useful prompt is, “Take a quiet breath and make your body long.” If a child is comfortable, count slowly to three while supporting them, then help them return to standing. Repeat several short attempts instead of insisting on one long hold.
Some children respond well to a story-based cue, such as pretending to be a starfish resting on top of the water. Use this only if it helps them relax. For a child who prefers direct instructions, clear technical cues may work better. The teaching approach should fit the child, not the other way around.
Reduce support gradually
When the child can hold a relaxed position with full support, begin reducing assistance in small stages. First, lighten the hand under the head while maintaining upper-back support. Next, support only the upper back. Then let your hand hover just beneath the back, ready to assist without constantly touching.
Tell the child before you change the support. Surprise can trigger panic. A simple statement such as, “I am still right here, and I will use one hand instead of two,” builds trust and helps them understand the progression.
A good early target is three to five seconds of calm floating, followed by a controlled return to standing. Once that is consistent, work toward longer floats. Quality matters more than duration. A child who floats for five calm seconds is making stronger progress than one who lasts ten seconds while panicking.
Add recovery to standing or the wall
A floating skill is more useful when the child can recover independently. From a back float, teach them to bring their chin slightly toward the chest, bend the knees, turn to the side, and place their feet under them. In shallow water, they can then stand. Near the wall, they can roll onto their front and move toward it.
This sequence should be practiced with close support first. Children need to understand that floating is not a trapped position. They can float, breathe, and choose their next action. That sense of control is a major confidence builder.
Common mistakes parents should avoid
Do not pull a child’s arms or legs into position while they are distressed. Forcing a float can create a lasting fear response and slow future learning. Pause, return to a familiar activity, and try again only when they are settled.
Avoid asking a child to keep their head completely still. Small movements are normal. Instead, focus on the bigger outcomes: ears in the water, face above water, hips near the surface, and steady breathing.
It is also tempting to tell children to kick harder when their legs sink. Often, harder kicking creates more tension. Ask them to relax their belly, look up, and make their body long before adding light kicks.
Finally, do not measure progress against another child. Age, previous water exposure, sensory preferences, and confidence levels all affect learning speed. Structured progression gives each child the time and support needed to build a reliable skill.
When professional instruction makes a difference
A qualified swim instructor can identify subtle body-position issues that are hard to spot from the pool deck. They can also adjust support safely, use age-appropriate cues, and place floating within a broader progression that includes breathing control, safe entry, turning, treading water, and moving to safety.
For children preparing for SwimSafer stages, floating should not be treated as an isolated drill. It supports water-survival competence and helps children remain calm during practical assessments. AQZOG’s structured lessons develop these skills through progressive practice, so children learn not only what to do, but when and why to do it.
If your child becomes highly anxious, repeatedly swallows water, or cannot relax even with close support, a private or small-group lesson may be the better starting point. More individual attention can make a meaningful difference for fear-based learners and complete beginners.
A calm back float begins with a child feeling safe enough to let go, even for a few seconds. Protect that trust, celebrate each small improvement, and give them regular opportunities to practice. The confidence built there can stay with them long after the lesson ends.